
Scissor Skills by Age: 4 Practical Stages of Cutting Development
Tracking scissor skills by age is less about ticking off set boxes and more about understanding what small hands can physically manage. Cutting asks both hands to work together on completely different movements at the exact same second, which takes real time to build.
Watching how scissor skills by age develop reminds us that cutting is one of the trickiest coordination challenges a young child meets, and little fingers need plenty of low pressure time to sort it out.
For years I thought scissors were just something you gave a preschooler to buy yourself ten quiet minutes while putting dinner together.
My eldest, Bella, was about two and a half when she found a pair of plastic safety scissors at a friend’s place in Melbourne. She sat on the rug, opening and shutting them in thin air without any paper in sight, completely absorbed for five solid minutes.
I remember watching her and thinking that was not just fidgeting. That was a small child working out a genuinely tricky hand movement all on her own. Nobody had shown her how to do it; she was just feeling out how the hinge moved.
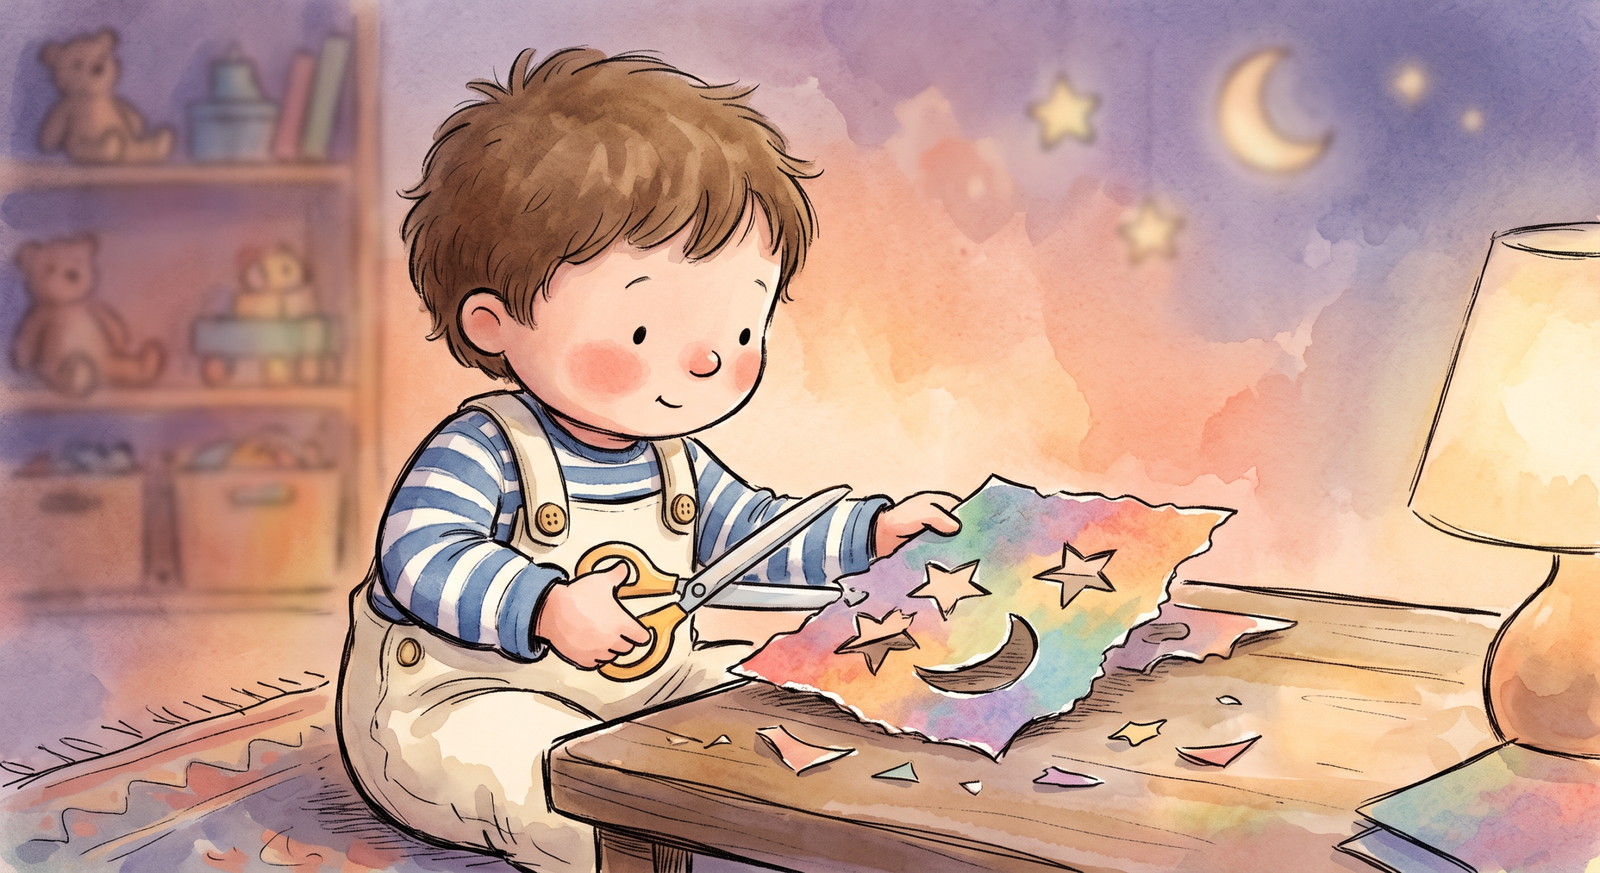
It was only when I looked closer, working in early learning centres and then at home with my own girls, that I saw how much coordination is packed into that one action.
One hand squeezes in a rhythm it has never tried before, while the other holds the paper steady and turns it at the right second. Most of us forgot how hard that was around primary school and never thought about it again.
When parents ask about scissor skills by age, they want to know what typical progress looks like, why their child is tearing paper, and how to stop craft time ending in frustration.
In this guide:
Why Cutting Means More Than Craft Time
Cutting uses the same hand strength and two handed coordination that shows up later when buttoning a school cardigan, tying up sneaker laces, or holding a pencil without cramping.
It is also one of the first places you notice a preferred hand. Most children do not settle into a dominant hand until around three or four, and scissors often show that preference before pencils do.
Occupational therapists look at scissor work as a direct sign of bilateral integration. Research from the American Occupational Therapy Association (AOTA) shows that cutting asks the brain to share attention across the body midline.
If your child has spent time with dough or drawing, cutting is not a completely foreign task. It is the same hand muscles doing a slightly harder job. Watching scissor skills by age shows us that coordination grows in layers rather than appearing all at once.
4 Practical Stages: Scissor Skills by Age
Instead of treating ages as strict targets, think of them as the natural rhythm children follow as their hands grow stronger:
| Stage and Age | What the Hands Are Doing | What It Looks Like on the Floor |
|---|---|---|
| 1. Exploring the Tool (18 Months to 2 Years) |
Learning how the loops feel; whole arm opening and closing without paper. | Opens the blades using both hands or squeezes with two hands together. No real cutting; mainly feeling the hinge move. |
| 2. Single Snips (2 to 3 Years) |
Opening and shutting with one hand; single snips along card edges with help. | Chomps into the edge of card; makes small fringes. Cannot cut right across a page yet; hands switch back and forth. |
| 3. Cutting Across Strips (3 to 4 Years) |
Dominant hand settles; cuts a narrow strip of card into two separate pieces. | Cuts across a 2 cm strip with one or two snips. Edges look rough; paper slips away; learning to hold card upright. |
| 4. Straight Lines and Curves (4 to 5 Years) |
Follows drawn paths; turning the paper while cutting; attempts corners and circles. | Follows a thick drawn line; helper hand starts turning the paper to cut curves, circles, and corners. |
Between 18 months and two years, children are simply finding out what scissors are. Bella was not aiming for paper shapes; she was working out where her fingers went. If your toddler is just snapping scissors in the air, that is right where they should be.
By three, children can usually snip across narrow card, but it will not be tidy. The cuts are jagged, and that is completely fine.
Around four or five, steering starts to click. Curved lines always take longer than straight ones. If you give a four year old a circle before they can manage straight lines, you will mostly get torn paper and tears.
It is never a competition. A child who has had fewer chances with scissors at home is not behind; their hands just need more time on the tools.
The Order We Used to Introduce Materials
What you give a child to cut matters just as much as the scissors themselves:
1. Firm Playdough Snakes
Thin paper folds and slips when little hands first try to cut it.
- What we did: Rolled thick coils of homemade playdough and let Zara chop them into chunks with safety scissors.
- Why it works: The dough stays upright on the table. Children get that satisfying cut without having to hold and guide thin paper, building the strength we look at in hand strength activities for kids.
2. Drinking Straws
Straws give clean resistance without flopping over.
- What we did: I held a paper or plastic drinking straw while Zara snipped it into short pieces.
- Why it works: Straws make a clean pop sound with every cut. The chopped bits work well as beads for threading on wool, practising the grip we explain in pincer grasp activities.
3. Cardboard Snip Strips
Standard printer paper easily bends between blades if a toddler holds it loosely.
- What we did: Cut an empty cereal box into strips about two centimetres wide. I drew lines across each strip and let her snip them off into little tiles.
- Why it works: Cardboard stays stiff on its own, so one clean snip cuts straight through. It gives small hands a win every time.
4. Straight Lines, Then Corners, Then Curves
Once single snips are comfortable, children can start guiding the blades along a line.
- What we did: Drew thick texta lines down card. We worked on straight paths first, moved to zigzags, and left circles until last.
- Why it works: Moving from straight edges to gentle curves follows how hand control develops and saves everyone from ripped paper.
Playdough Snips Compared to Plain Paper
Seeing why paper is tricky early on helps you choose materials that match what hands can handle:
| What the Task Asks For | Cutting Playdough Coils | Cutting Printer Paper |
|---|---|---|
| Helper Hand Work | Very little: the dough sits on the table without needing to be held. | Tricky: the second hand has to pinch the edge, hold it firm, and turn it. |
| Blade Jamming | None: soft dough cuts cleanly through even with blunt plastic blades. | High: thin paper folds and jams between blades if held at the wrong angle. |
| What the Child Sees | Instant result: chunks fall straight to the table with every cut. | Slower result: takes several snips along a line before anything comes off. |
| Pressure Level | Low pressure: feels like sensory play with dough. | Higher pressure: looks like an adult job with a right and wrong way. |
When Frustration Hits Hard: Brain Faster Than Hands
Bella has ADHD, and scissors were one of the first places I saw that show up as something deeper than an ordinary toddler tantrum.
She had a clear picture in her head of what she wanted to make. The gap between that idea and what her small hands could manage at two and a half was genuinely distressing for her.
One afternoon she pulled at her own hair out of sheer frustration because her fingers would not follow the line she could see in her head. It was awful to watch. If your child hits that same wall, it is a recognised reaction in neurodivergent kids when intention outruns physical coordination.
Children with ADHD or motor coordination differences often have less patience for that gap.[1] You cannot talk a child out of that feeling when they are overwhelmed.
What helped us was not pushing through more cutting practice. We made the task tiny: one single snip into playdough, a quick high five, and putting the scissors away.
Short goes, an obvious finish line, and placing my hand over hers before tears started made all the difference. That same idea sits behind our ADHD start together task trick, taking the weight off the first few seconds so children can begin without panic.
Hand Preference, Left Handers, and Basic Safety
Between two and three, children often switch hands during craft. They might snip twice with the right hand, pass the scissors to the left, and try again.
Let them swap without correcting them. The brain is testing both sides until one naturally takes over.
If your child chooses their left hand, get proper left handed scissors. Scissors labelled ambidextrous still keep the top blade in the right handed position, which blocks a left hander from seeing the line and causes the paper to bend.
Stick with blunt, rounded metal blades for toddlers and preschoolers. Thin plastic blades often tear card rather than slicing it, which frustrates kids. Stay close by while they cut, keeping things calm and companionable.
How Scissor Work Connects to Pencils and Self Care
Hand development ties together across ordinary routines:
With pencil hold, learning how to hold a pencil correctly relies on the thumb and pointer finger moving while the ring and pinky fingers stay steady, which is the exact separation scissors build.
With mark making, gentle ideas in pencil control activities without worksheets build the stamina cutting needs.
And with dressing, the steps in buttoning, zipping, and self dressing skills use the same two handed coordination required to manage paper and blades.
Australia’s early years framework from ACECQA highlights that physical confidence and everyday autonomy are core parts of early wellbeing.
If cutting is causing arguments right now, step back. Roll out some dough, chop a few straws, and give small hands time to catch up.
Free Printable: Story Tracing and Beginner Snip Strips
A simple set of cutting strips and line paths with story prompts, designed to keep fine motor practice relaxed and enjoyable.
Download the Free 3-Page Sampler- Build hand stamina with Hand Strength Activities for Kids: 4 Practical Ways We Built Grip →
- Help with finger control in Pincer Grasp Activities: 4 Brilliant Ways to Master the Tiny Grip →
- Encourage a natural pencil hold in How to Hold a Pencil Correctly: Gentle Guidance for Beginners →
- Build morning dressing habits in Buttoning, Zipping, and Self-Dressing Skills: 4 Brilliant Ways to Build Independence →
- Try calm pre writing ideas in Fine Motor Skills Pencil Control Activities Without Worksheets →
- Ease morning task freeze with the ADHD Start Together Task Trick: 4 Powerful Ways to Help Your Child Begin →
References and Readings That Guided Me
- Barkley, R. A. (2015). Attention-Deficit Hyperactivity Disorder: A Handbook for Diagnosis and Treatment (4th ed.). Guilford Press. [Clinical insights on emotional regulation, frustration thresholds, and fine motor persistence in children with ADHD].
- Case-Smith, J., & O’Brien, J. C. (2015). Occupational Therapy for Children and Adolescents (7th ed.). Elsevier Mosby. [Developmental milestones for bilateral coordination, scissor grasp progression, and tool manipulation].
- American Occupational Therapy Association (AOTA). (2020). Occupational therapy practice framework: Domain and process (4th ed.). American Journal of Occupational Therapy, 74(Suppl. 2). [Standards for pediatric fine motor intervention, bilateral motor planning, and school readiness activities].
- Australian Government Department of Education. (2022). Belonging, Being and Becoming: The Early Years Learning Framework for Australia (V2.0). [National learning outcomes focusing on physical wellbeing, bodily coordination, and independent self care agency].
Questions parents often ask
Scissor skills typically begin between 18 months and 2 with basic tool exploration, and reach a preferred hand and simple cuts by 3 to 4, a progression the American Occupational Therapy Association and NAPA Center both describe closely. My eldest, Bella, was closer to the early end of that window, sitting and opening and closing a pair of kid scissors for a solid five minutes before she ever touched paper.
Start with child-safe, blunt-tip scissors and let your child explore opening and closing them before introducing paper, building up from playdough to straws to short snip strips, an order that matches NAPA Center’s guidance on scissor progression and one that worked well for us too.
Most children can follow a drawn line with reasonable accuracy by 4 to 5, per the CDC’s developmental milestone guidance, after mastering simpler snipping and straight-strip cutting earlier on. Curves and corners tend to come later than straight lines, jumping to a circle too early mostly just leads to a frustrated kid and a mangled piece of paper.
Snipping playdough coils, cutting straws into pieces, and short snip strips before a full straight line are the order NAPA Center’s occupational therapy guidance recommends. Playdough before paper, every time, is the one rule I’d hold onto above all the others.